I am so excited to share with you a craftastic project I just finished! This has been one of my favorite crafts to work on. The process of putting this together, coming up with new ideas, figuring out how to make things work was exciting and fun. Going into it, I had a basic idea of what I wanted to do, but to see it all take shape and come together… it was just a blast!
It all started with a Spin…
Kathy Files of Paper Phenomenon gave us this beautiful project. She really is amazing. I know I say that alot but really… she’s amazing. Take A Spin was the January project from her Everyday Kit Club. Instantly I knew what I wanted to do with it – a jewelry case for my Old Hollywood-style bedroom. But the papers weren’t quite right.
ENTER: JoAnn Fabrics. Yes, JoAnn’s to the rescue! I was drooling over the Tim Holtz section browsing when I came across this gem of a paper collection.
Yes, that’s right. $6! And, of course I used a coupon of some sort. This is not your daughter’s glitter paper either. It’s from DCWV and let me tell you it is smoooooooth. I picked up 4 packs to be safe and really only used about 1 1/2.
Okay, so you wanna see it?
Be prepared, there’s alot of photos here…
First the Frame side…
You can slide a photo down into this frame.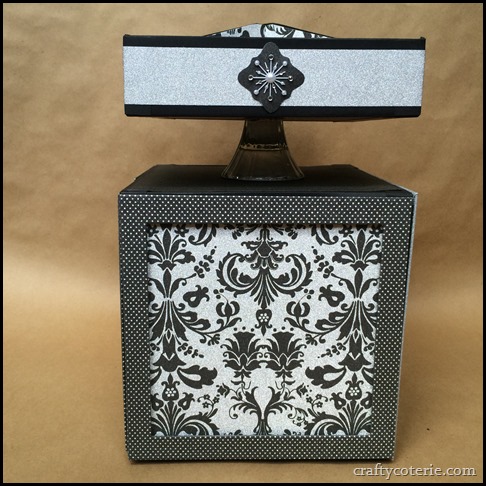
The Drawers…
This side holds three small drawers and a magazine style box on the right.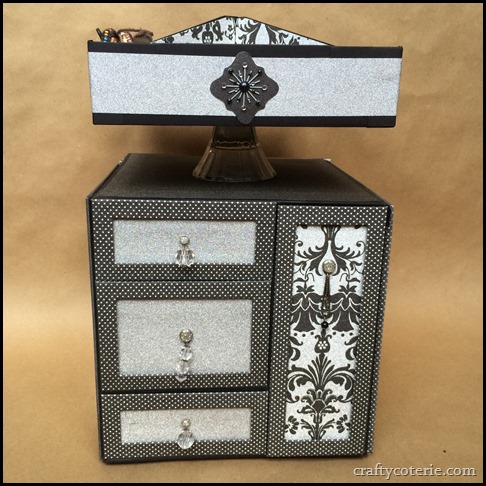
A close up of the drawers shows the two smaller drawers hold rings. The larger middle drawer is for larger pieces or items that I need to repair.
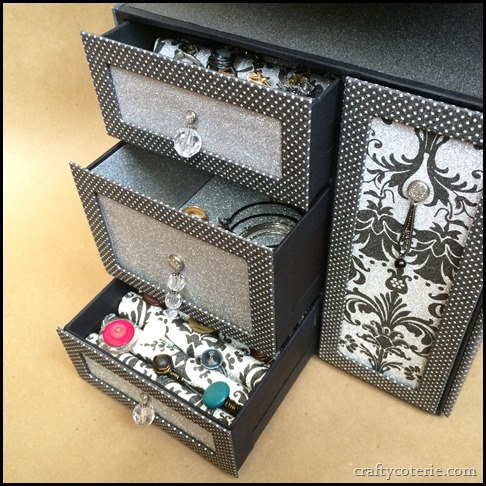
A close-up of the ring drawer shows the pillows are made of coordinating paper. I’ll post later this week about how I made these. It was very easy and inexpensive. 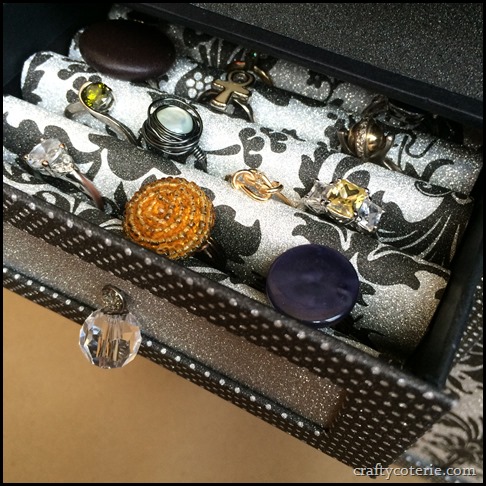
The magazine drawer holds a “book” of jewelry.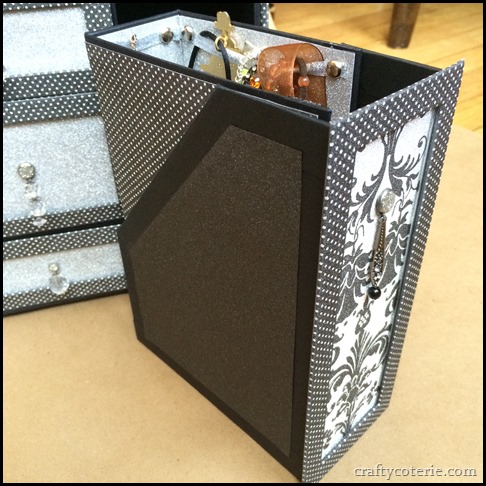
Necklaces! I fussed and fussed over a good design for this book. I’m still not completely happy with it, but I’m thankful to my brilliant mother for coming up with this “laundry line” idea. It was MUCH cheaper than the posts I was thinking of using and really more stable. I’m not happy with the way the necklaces dangle past the bottom so if you have any ideas please share. It doesn’t seem to affect the storage and fit into the holder, but it just annoys me.
Maybe a tray all the way around the bottom? Not sure yet.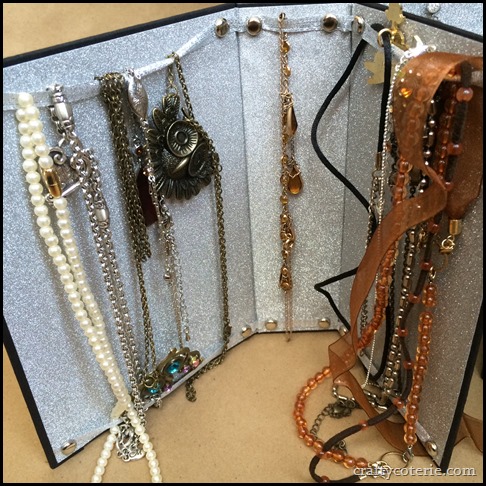
The Mirror side…
This was probably one of my favorite parts of the project. I love having the mirror for trying on jewelry. And then the little surprise to the left…
Earring storage! This was my favorite storage solution. I can fit pretty much all my earrings except for my hoops on this piece. 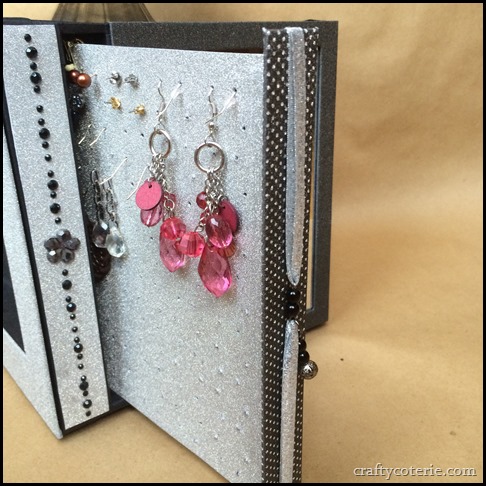
Talk about space-saving! It’s double-sided so you can fit twice as many earrings in the space without getting them all tangled up. 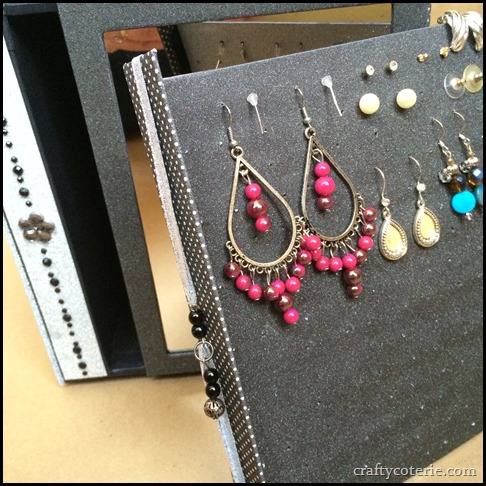
A shadow box…
The shadow box got a very basic treatment for now. I still haven’t decided what I want to put here. I was thinking necklaces, bangles, maybe the hoop earrings? 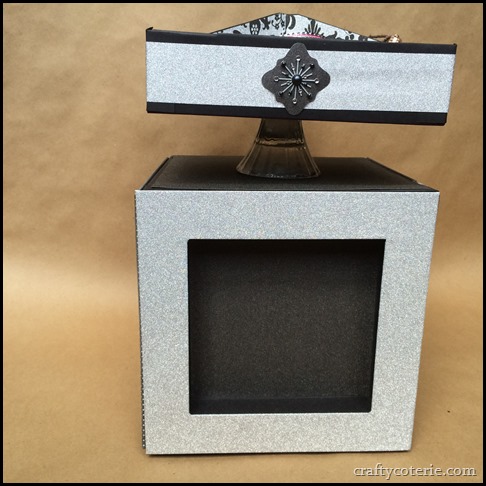
The bracelet caddy…
Totally forgot to ink the edges of that black glitter paper lining the walls. grr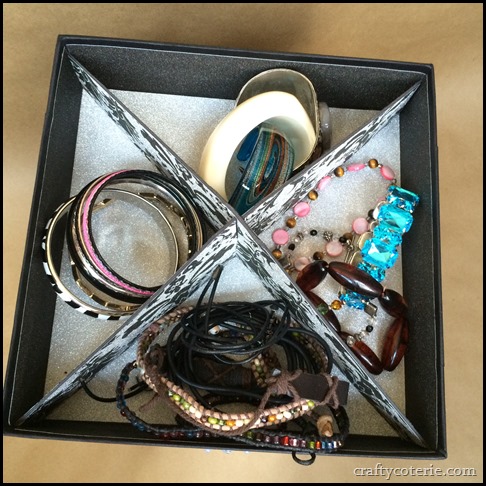
I hope you enjoyed seeing this project as much as I enjoyed making it. If you want to make your own version of Take A Spin, you can subscribe to the Jan.-Mar. 2014 Digital Kit Club which includes the tutorial and videos for the construction of several projects OR you can just purchase the tutorial, both in Kathy’s shop.
I’d love to see your take on the project so if you make it please share!!!

Love it! You did a great job on the construction and I really like your application – a jewelry box is such a great idea.
This is just beautiful….talk about making a project your own! You hit it out of the park! I used to have a jewelry box that had a cloth pouch across the lower width to accommodate the dangling necklaces. It was elastised to keep the pouch taught. Maybe something like that would solve your problem. Again, you did a fabulous job on this.
That’s a great idea! And much easier than the tray I think!
Thanks so much!