*this post may contain affiliate links*
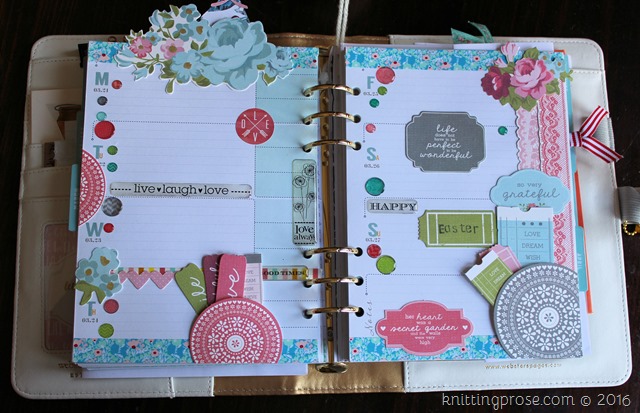
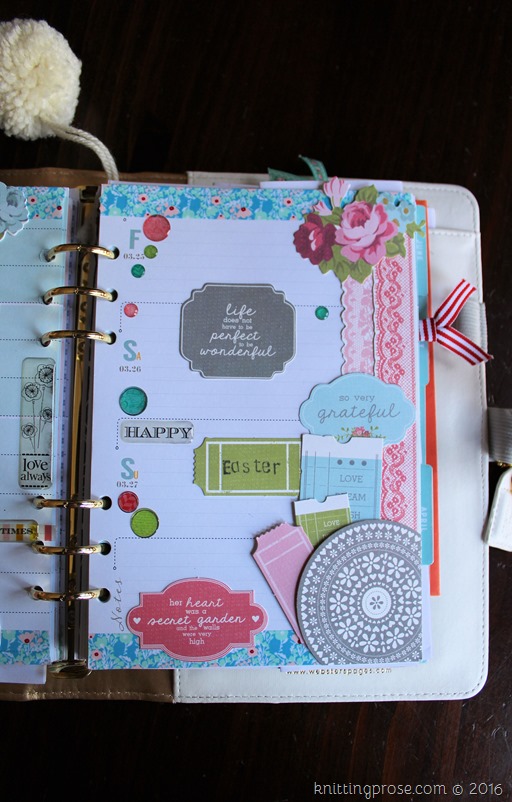
March is shaping up to be a very busy month. I’ll not go into all the details here just yet. I wanted to give you something super cute and fun before I get into the daily grind of life stuff. So today, I’m sharing my planner layout for the week – Easter edition.
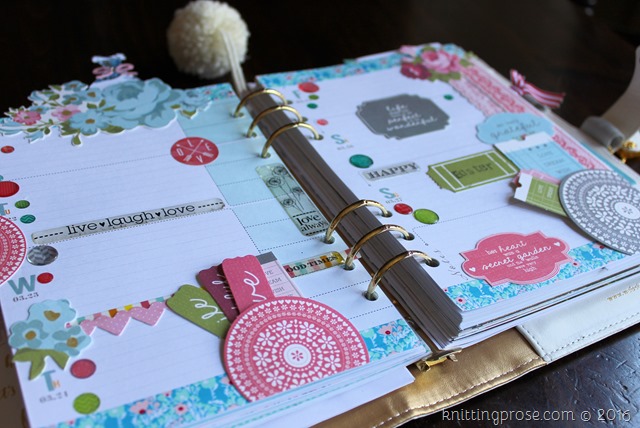
Planner layout For Inkwell Press Inserts
As busy as march has been, I’ve hardly touched my planner for pretty much the entire month. My mom was here for two weeks and we had the best time doing nothing. I mean, I always have these grand plans of cleaning out this and organizing that – projects galore all planned out in my head. But in reality, we end up working jigsaw puzzles, laughing until we almost pee our pants, and going thrift shopping the entire time. And that’s exactly what we did for the past two weeks. It was heavenly.
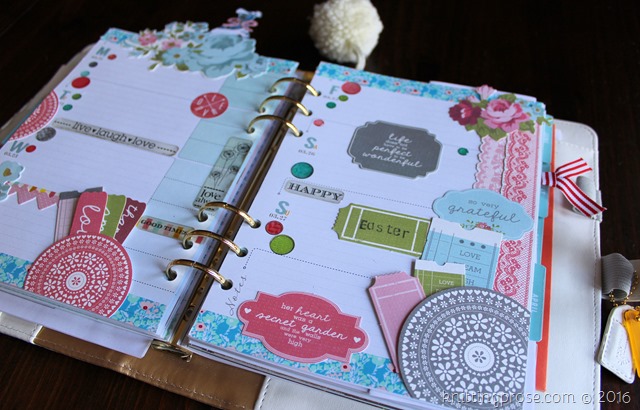
Now, I’m back to reality and this week’s layout was just what I needed to get me going again. I’m planning in my A5 Color Crush by Webster’s Pages this week – Inkwell Press Flex inserts. As crazy as it sounds, I think I’m really starting to love this planner. I never thought I would be happy without my vertical layouts, but these inserts have really grown on me. Vertical in an A5 feels so small compared to my roomy Happy Planner. Vertical is perfect for Happy Planners. Anything smaller and it feels claustrophobic. I’ve managed to find a happy place in my Flex inserts and I think I’ll be sticking with it for a while.
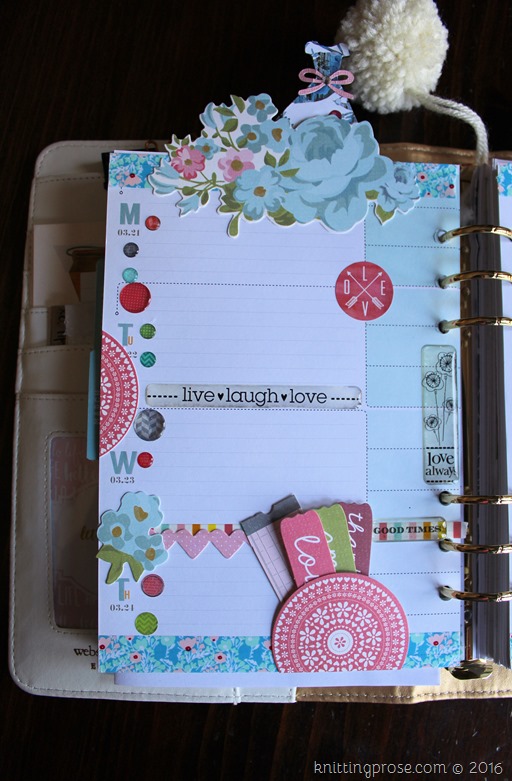
Easter week embellishments
This layout came together so easily. I started with some floral washi from the Planner Society. Then I noticed this packet of die cuts by Kaiser Craft in my planner stash. As I dug through the packet and chose my largest elements, everything seemed to fall into place. I added a few epoxy stickers by Heidi Grace and finished the layout in record time. Normally, I minimize the use of die cuts in my planner because they add so much bulk, but for some reason I decided to do the entire layout in them. Epoxy stickers and die cuts! No idea what I was thinking but I’m so happy with the result that I’m reminded to trust my instincts.
Tip – Pockets on the planner pages
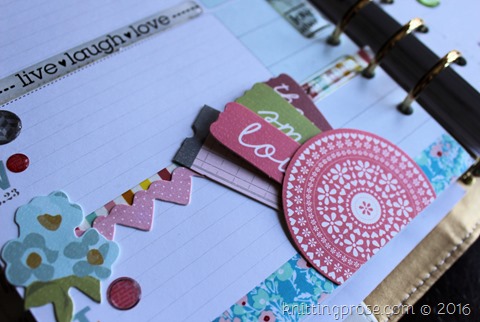
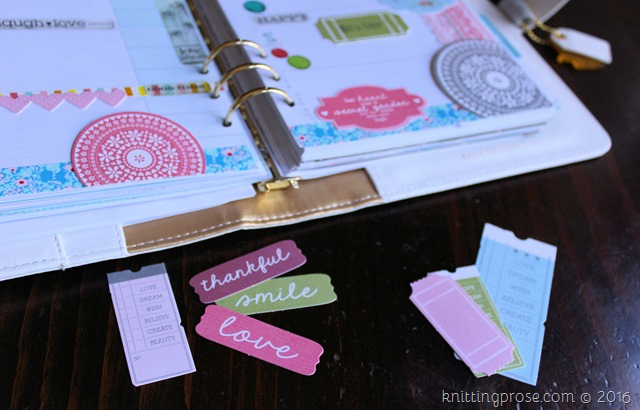
This week I went bulk crazy and even added little pockets to tuck notes into. Encouragements on the front sides, room for notes on the back sides. It’s super easy to add a small pocket to any page. Using these circle die cuts from the Kaiser Craft package, I applies a single strip of scor-tape to the back side along the page border only. This leaves the top portion free for tucking in small items.
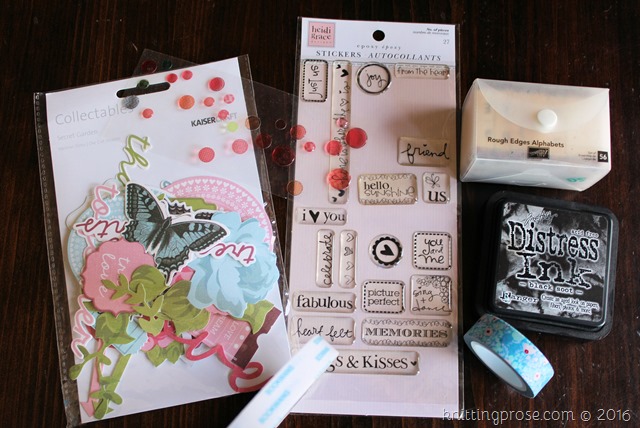
Planner Supplies Used
- Kaisercraft Collectables – Secret Garden die cut shapes
- Heidi Grace designs epoxy stickers – Cartwheel
- Planner Society floral washi – February 2016 kit
- Stampin’ Up! Rough Edges Alphabet stamp set
- Tim Holtz Distress Ink – black soot
- small epoxy circle stickers (I can’t remember where I got these. Sorry!)
- glue stick
- scor-tape
Download the Free planning worksheet!
Don’t forget to download the FREE planning worksheet at the top of the page. This tool will help you get your week sorted out before you commit it to your planner!
