Learn how to make your bottlecap pendants waterproof without using epoxy stickers or a glaze. This super simple trick will also save you money!
Ever find yourself in a crafting emergency? It happens. We’ve all been there (even Martha, I’m sure). 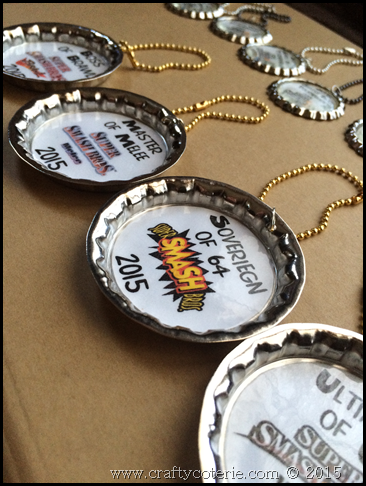
You need to finish a project and there’s just one thing you’re missing. You’ve searched your stash and it’s nowhere to be seen. The local craft store doesn’t carry it and you don’t have two days to wait for Amazon to deliver it. What’s a crafter to do?
Exactly what creatives always do – we improvise. We invent. We modify.
Well this was me last week and while my little improvisation may not be new, it was certainly a lifesaver for me and I thought someone else might benefit from it as well.
The plan – make bottlecap pendant keychains for my daughter’s birthday party. My only problem – I couldn’t find epoxy stickers for the large 2” size bottlecaps anywhere! The designs I created, I also printed on my inkjet printer so sealing them in with a glaze was out of the question.
No really, I tried. Lots of bubbles. Lots of bleeding ink. It wasn’t pretty.
So I scoured the internet for another option. The crafting community on the web is vast and full of genius crafters so I knew *someone* would come to my rescue. What do you know? It was me! I couldn’t find any answer other than some form of glaze or epoxy stickers. Really, y’all? I’m a little disappointed.
But! As I scrolled through pages and pages of Google results, I came across a list of ways to waterproof paper. And there it was. My “aha!” moment. Lamination!
*facepalm* Duh! Of course! I just bought a laminator for next to nothing on Amazon a few months ago and this was the perfect time to rip that bad boy open and give it a go.
So here’s how I solved the “No epoxy stickers – No glaze” problem.
1. Gather supplies and tools:
Supplies:
- 2 inch bottlecaps
- jump rings
- ball chain with clasps
- laminator pouch
- large size glue dots or another adhesive (Glossy Accents might work well)
- sticker paper
For this project, I used a few everyday crafting tools and also some jewelry making tools. All of these can be found at the local craft store.
- a pair of side cutters
![IMG_6745[1] IMG_6745[1]](http://www.knittingprose.com/wp-content/uploads/2015/01/IMG_67451.png)
- a pair of needle nose pliers
- jump ring finger tool
- scissors
- laminator
- home printer
2. Prepare the designs.
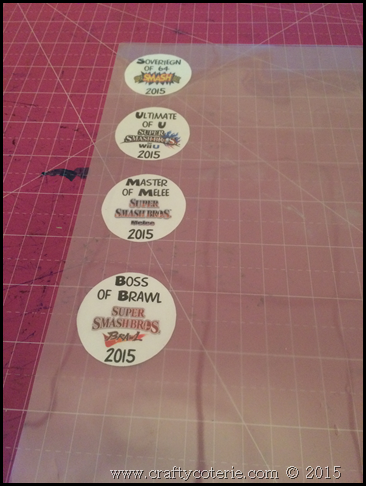
My bottlecaps were used as little “trophies” for a birthday party. We hosted a Super Smash Bros. Tournament (4 actually) and awarded the winners with large bottlecap key chains. I printed my designs on sticker paper to make them easier to laminate. (I’ll explain that in a moment.) My 2” bottlecaps actually had a center about 1 5/8” wide so I printed the designs a little smaller than this and cut them out.
3. Laminating.
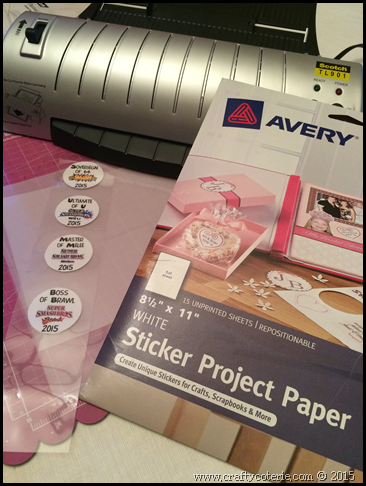 When you need to waterproof a design printed with an inkjet printer, lamination is a quick and easy option. I printed my designs on sticker paper just to make the laminating process easier. This allowed me to “stick” the designs onto the laminating pouch and not risk them shifting during the sealing process. My laminator came with large pouches which were obviously way too big for my little 1 5/8” circles. I didn’t want to waste all that material so I decided to cut my pouch down to fit my needs.
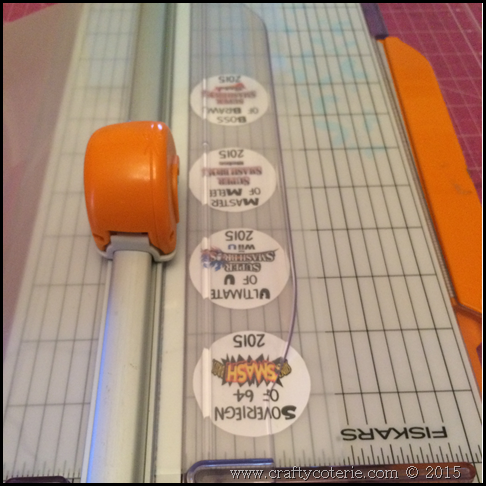
This is a great way to save some $$$! To do this, I lined up my stickers in a column down one side of the pouch, making sure the fold of the pouch was at the top. This is important! You want to preserve the fold for your future lamination projects so make sure the fold is at the top if you use this tip!
Next, I cut the pouch leaving about a 1/2” margin along the side. My pouch ended up way skinnier than the guides on my laminator. If this happens to you, just be sure to load the pouch fold end first into the machine and you will be fine.
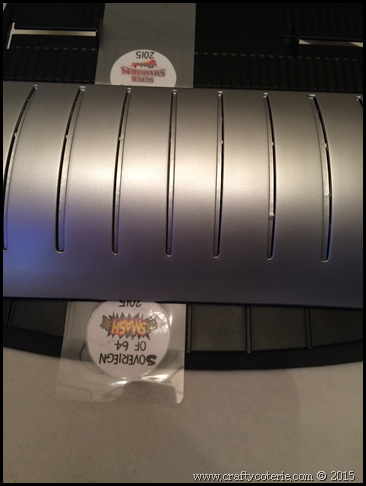
4. Adhering the designs.
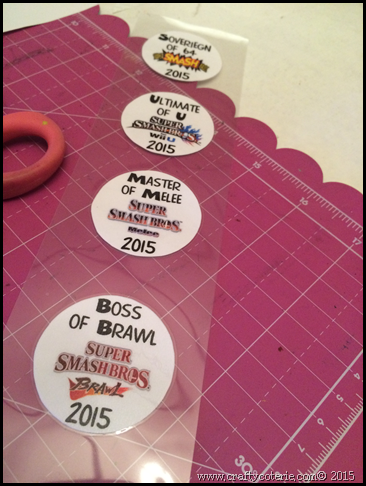
![IMG_6720[1] IMG_6720[1]](http://www.knittingprose.com/wp-content/uploads/2015/01/IMG_67201_thumb.png) Once I had the circles laminated, I cut very closely to the seal so as to get the smallest margin I could around the edge. You have to be careful here. You don’t want to cut too closely and break the lamination. Once this was done, I did a dry fitting just to make sure my pieces would fit into the caps.
Once I had the circles laminated, I cut very closely to the seal so as to get the smallest margin I could around the edge. You have to be careful here. You don’t want to cut too closely and break the lamination. Once this was done, I did a dry fitting just to make sure my pieces would fit into the caps.
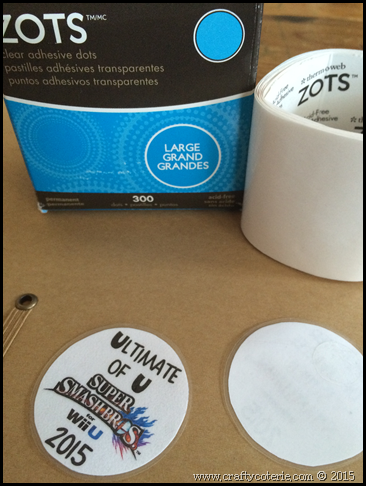 Now for the actual gluing in – Here’s where I could’ve done things a little better. I used these large glue dots by Zots and while they work well and hold fine, there’s an even better option. Glossy Accents. Glossy Accents is one of the most versatile crafting supplies I’ve ever owned. It’s a strong adhesive. It’s a great decorative element by itself. It make a beautiful lacquer finish over chipboard. Seriously, I use this for so many projects. I really wish I’d used it here as a flatter, more secure adhesive. Next time…
5. Preparing the caps for chains.
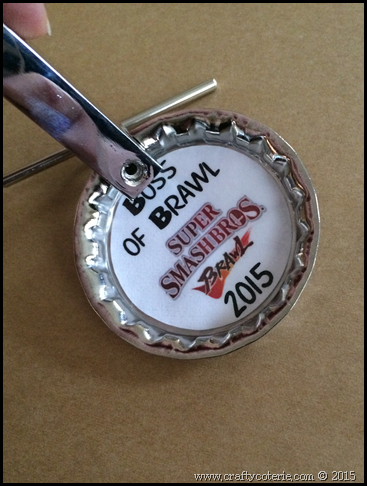
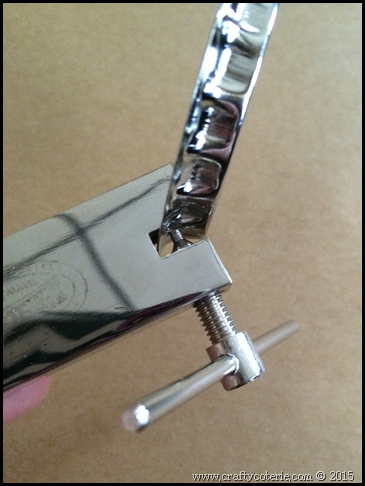
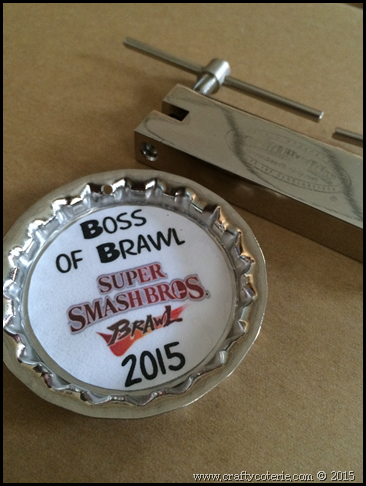
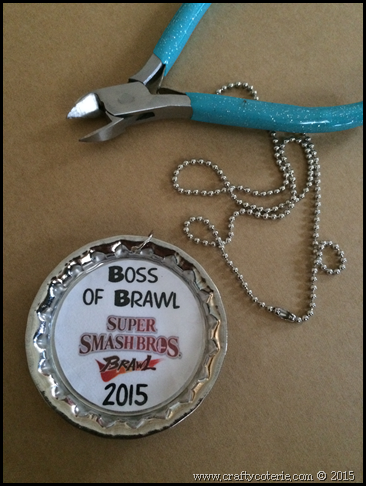
The large bottlecaps I used did not have precut holes for a jump rings so I used a steel hole punch to make them. It’s a handy tool to have around the craft room and is super easy to use. Once, the holes were punched I simply inserted the jump rings. If you’re a jewel crafter, I’m sure you already know this, but for those who aren’t *never open a jump ring by pulling the ends outward! Never. This makes it impossible to get the ends to meet back up. Instead, grip the ring on either side of the opening and twist one side away from the opening. Take a look at the pictures here to get a visual of this. I use a pair of flat nose pliers on one side and a jump ring finger tool in the other. I find this finger tool easier than handling two pair of pliers.
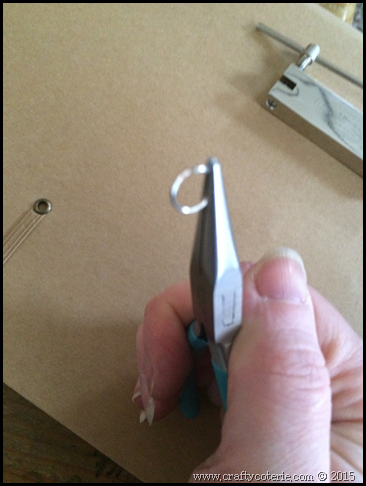
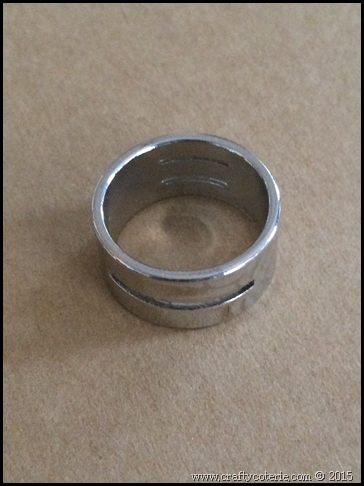
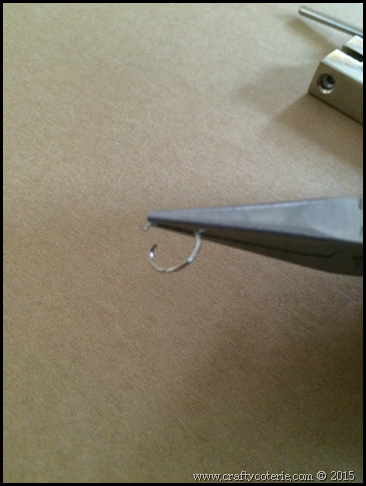
Insert the jump ring into the hole on the bottle cap and close the ring the same way it was opened.
6. Attaching the chains.
I purchased ball chain in 18” lengths. I just cut the chains into fourths and attached a fastener to each chain piece. The last step was attaching these to the bottlecaps by running them through the jump rings.
Ta-da! All done! I also made some smaller keychains using epoxy stickers.
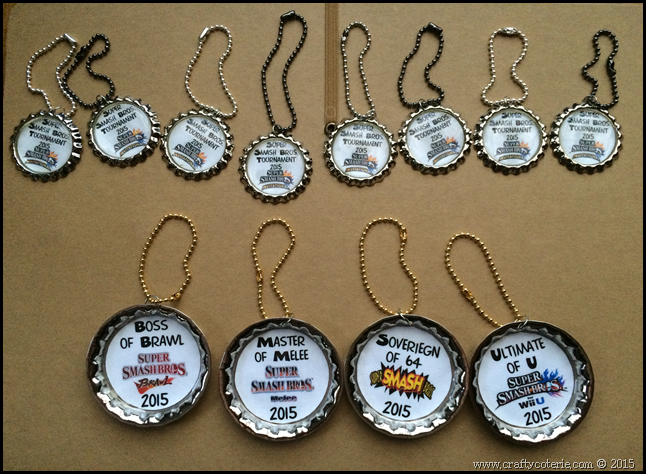
My gamers really enjoyed the tournaments and their “trophies”. I love throwing parties and making fun crafty things for them. Please share one of your favorite party crafts with me in the comments below!
![IMG_6739[1] IMG_6739[1]](http://www.knittingprose.com/wp-content/uploads/2015/01/IMG_67391_thumb.png)