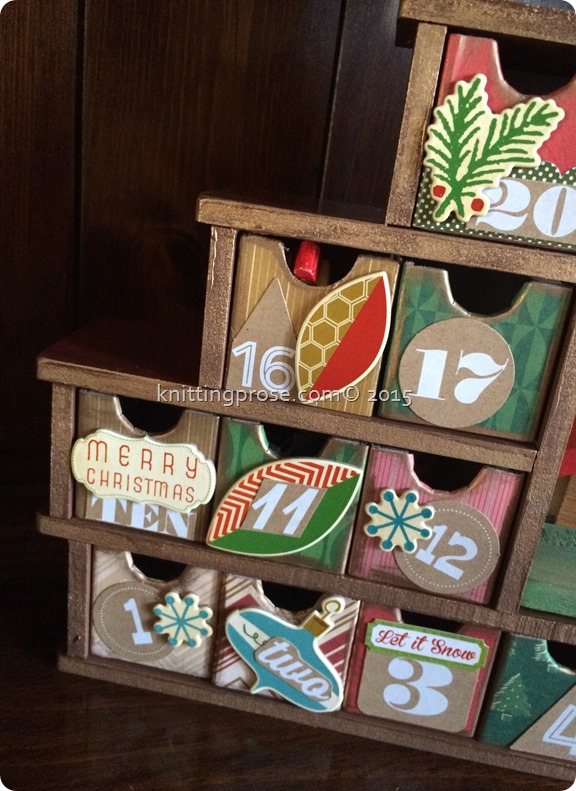
How to assemble and decorate an Advent Calendar Shadow Box with drawers…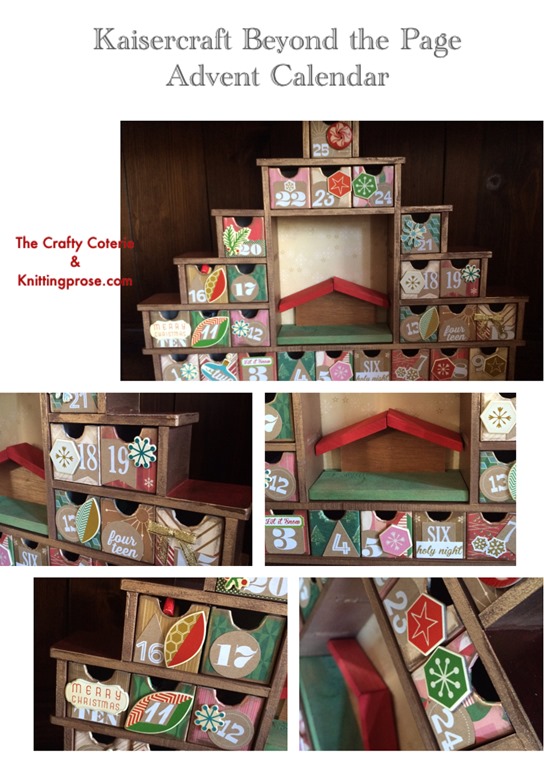 Our family has adopted several holiday traditions over the years. We have certain movies we watch for every major holiday. We have an Elf on the Shelf, Lego Advent calendars, every Christmas morning we read of the birth of Christ. This year I was eager to add a little more meaning to our holiday season particularly in the Advent activities. Our Lego Advent calendars really have zero to do with Advent and are just a fun way to add to the Lego collection. While searching Pinterest for some inspiration, I came across these wonderfully crafty Advent calendars by Kaisercraft.
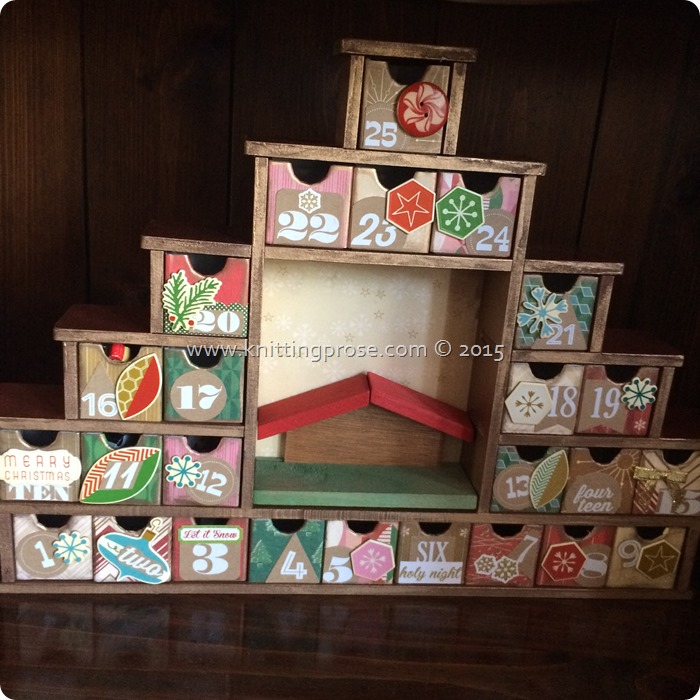
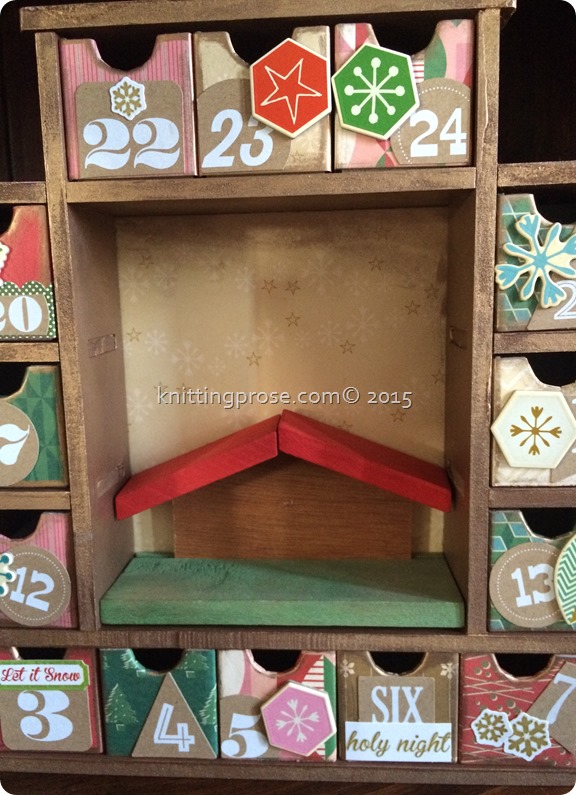
 Aren’t they cool? I love them all. So then I decided it would be great to “build a nativity” with one of these configurations but putting a nativity figure in each box. Every day we could pull out a new figure, add it to the scene, and reflect on some aspect of the birth of Jesus. I scoured every site for a perfect set of Nativity figures and ended up on Ebay of course. I found the perfect set of vintage figures made in West Germany. This was meant to be, for upon arrival, I discovered that the manger structure fit perfectly inside the center shelf of this Beyond the Page configuration.
I love, love, love Kaisercraft and their innovative designs. Truly, they are one of my favorite crafting companies who always impress me with their style. Bless their hearts, they just don’t excel at giving directions. So when I opened up the package of shadow box parts, I was not exactly impressed with the instructions. Basically you get a black and white diagram of all the pieces included. No words, no arrows, no part numbers. Just a picture of what’s in the package. So to help out the next gal (or guy!) that tries to put this baby together, I’ve included some basic instructions and tips here.
Tools you will need To build your advent calendar:
- acrylic paint in the color of your choice – I used brown
- paint brush
- pencil
- paper cutter or scissors
- some sort of glue adhesive – I used Zip Dry
Embellishments to decorate the frame and boxes: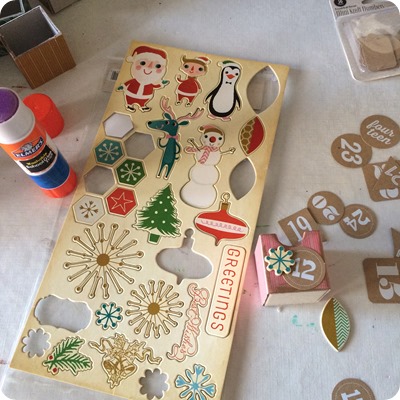
- paper for decoration
- Mod Podge
- Scissors
- Sand paper
- Strong Double-sided tape – I use Scor-Tape
- Rub N Buff – Gold
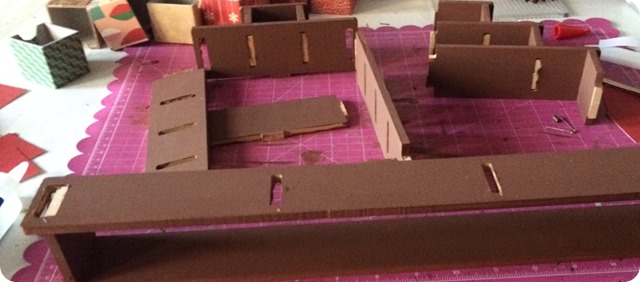 To get started, go ahead and paint all of your pieces with a base coat in the color of your choice. I applied two coats of brown to all my pieces. If you are going for a shabby, distressed look you may want to apply the coats in two different colors and sand the pieces in places to reveal a bit more color and even bare wood. The paint dries fairly quickly and you should be able to get all your coats done in a single day. Really, everything about this project makes it a great “In the meantime” project. You can do a step, walk away and leave it while you get other things done and then come back to it later. Perfect for those days when you can only find a few minutes here and there to work on a project.
After your pieces are dry, I recommend you go ahead and dry fit the pieces. This will do two things: #1 give you a chance to see how this thing fits together and #2 allow you to fit all the pieces together well and remove any paint stuck in the fittings. The acrylic is pretty soft and can be removed fairly easily from the slots, but I find it also helps any loose connections fit a little more snugly.
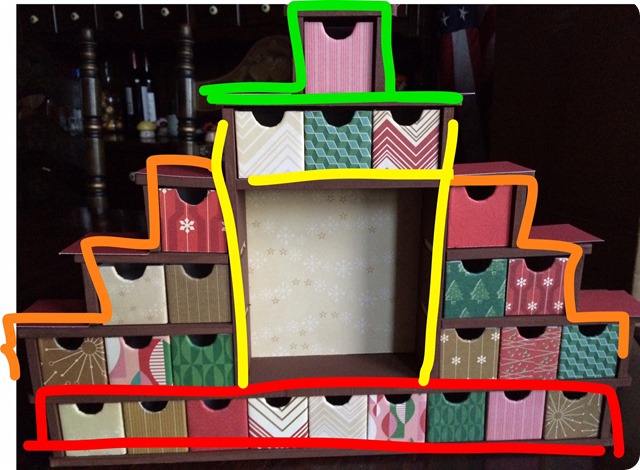
Once you have the thing together take a good look at how it goes together. There are five main sections – the long bottom section, the two side sections, the middle, and the top section. (See the photo below)
Before continuing on with the assembly, you need to do one more thing if you will be adding paper later to the frame. *I chose to add paper to the tops of all the ledges.* You will need to trace a template (or directly onto the back of your scrapbook paper) the shape of the top ledge and the next ledge down (the first side ledge from the top). There will be a total of 8 side ledges to cover all the same shape. Don’t worry about getting the exact size or rounding the corners. Just make sure your paper pieces are big enough to cover the ledges.
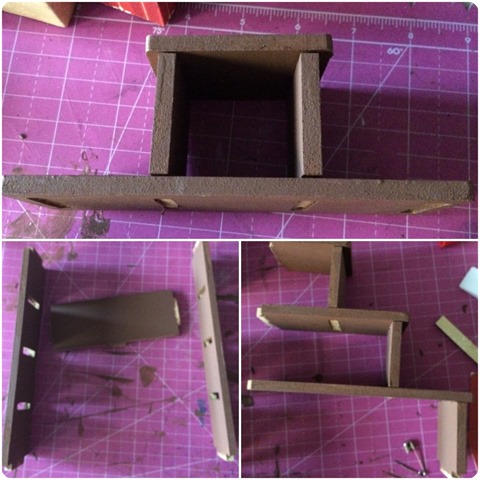 I recommend gluing these larger sections individually, then adding the two side pieces (one at a time) to the large bottom section, and finally the top section. Apply your adhesive along each side of the tab that fits into the slot and secure it in place. Give each section some time to dry before fitting the whole thing together. Mine sat for an hour or two before the final assembly. Refer back to the colored diagram above.
Once you’ve got your shadow box all constructed and glued together, you will want to add the back piece. Before you glue this in place I suggest adding any paper you may want to show through the shadow box first. To do this, I measured and cut the background paper to size for the middle opening. Then I added Scor-Tape to the back side of the paper and removed the tape backing. Now, stay with me here, lay your entire shadow box frame face down on the table in front of you. Line your paper up with the middle section with the taped side facing up so that it covers the middle section evenly on all sides. Next, carefully place your back piece face down onto the paper and frame being careful to keep the slots lined up with the tabs sticking out. Once you have everything lined up properly, press the back piece down onto the frame. Your scrapbook paper background should stick to the back piece in the perfect spot.
Assembling & decorating the Advent boxes:
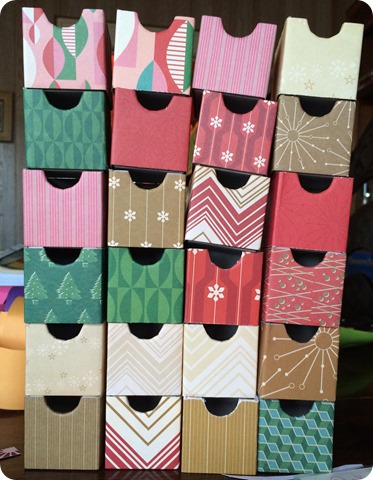
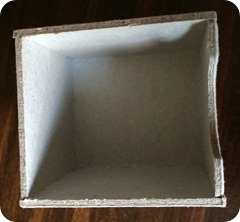 The boxes that come with the kit are made of chipboard and are hinged at the bottom layer. Yay for us! Less gluing! These little guys are pretty straightforward. Fold up the sides and glue in place. The front and back pieces fold up and fit “inside” the side pieces. So to glue them together, run a bead of glue along both of the side edges of the front piece. With the sides folded up, bring the front piece up to fit snugly in between the side pieces and hold it securely in place. Do the same with the back. You can do them both at the same time, just make sure you have the front lined up flush before moving on to the back. Depending on your glue, hold the box secure in your fingers for about sixty seconds to ensure good adhesion.
Now do that again 24 more times. ![]() It’s really pretty quick. Again, you can do a few at a time and not have to worry about walking away from the project.
It’s really pretty quick. Again, you can do a few at a time and not have to worry about walking away from the project.
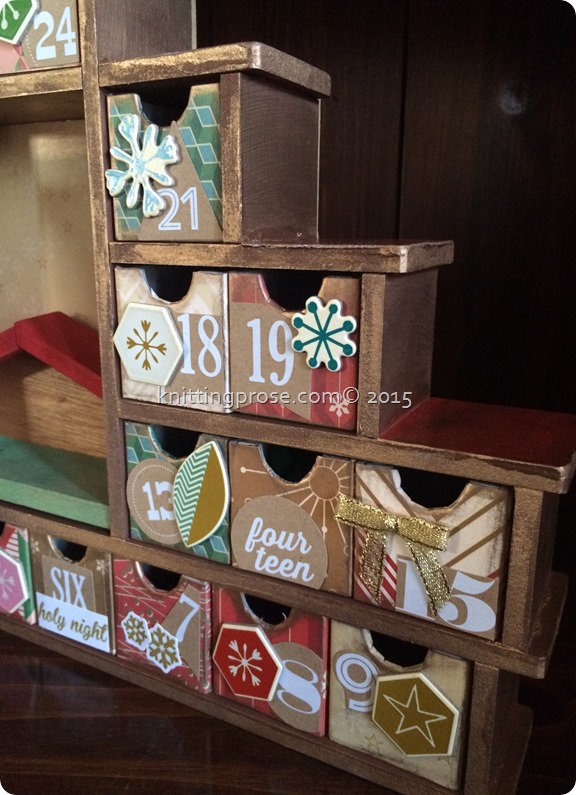
Once your boxes are assembled and your glue is all dry, it’s time to decorate. I only covered the sides of my boxes with paper as I wanted to add as little bulk as possible to ensure the boxes would slide easily in and out of the frame. I chose not to decorate the insides also to save on room for the figures.
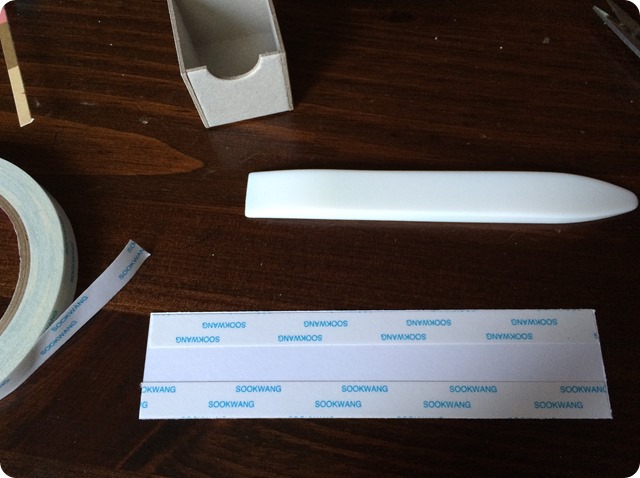 I cut strips of paper 6 13/16” x 1 9/16” to wrap around my boxes. Once the strips are cut, add a strip of Scor-Tape along the top and bottom edges. Line the paper up beginning at the back of your box. You want your seam to be in the middle of the back of your box. Slowly work the paper around the box, burnishing the corners at each turn. Gently press the paper onto the sides with your fingers being careful not to press too hard and collapse your box. I like to lay the box down on it’s side and burnish from the inside wall down toward the table to get a secure hold on the paper.
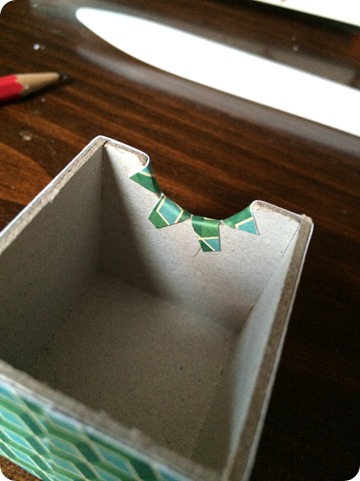 For the notch in the front of the drawer, I simply cut slits in the void and turned them inward toward the backside of the drawer front. The Scor-Tape holds the tiny sections in place. You could also notch these pieces out with an exacto knife or precut your notches before applying the paper. *note: after doing this, some of the little paper pieces separated leaving a layer of paper attached to the box and a layer raising a bit off the rim. Just a word of caution when using thicker paper – it may split into its layers.
Once the paper was on the drawers I applied Rub n Buff to the front edges. A word of caution here. When Rub n Buff comes in contact with paper, it doesn’t buff at all really. Wherever it touches the paper, it’s pretty much staying there. The good of this is that it covers the raw edges very well. The bad is that it will not be manipulated the way, for example, Distress Ink will. Once it’s down, it’s down. Remember that and use very small amounts at a time. You can always add more. Of course you can use inks to add color to the edges also.
At this point, I added the paper to the ledges of the frame. To do this, first apply a thin layer of Mod Podge to the the painted ledge, then apply a thin layer to the back of the paper. Stick the paper down well to the ledge and finally add another thin layer of Mod Podge to the top side of the paper smoothing out any bubbles as you go. Continue down each side in the same fashion. Allow to dry completely.
Once your paper ledges are completely dry, you can remove the excess hanging off by brushing down the edge with a sanding tool or sand paper. I cut the excess close to the rim and then sand the rest off, rounding the corners as I go. To finish the piece, I covered the entire thing in a coat of Rub N Buff.
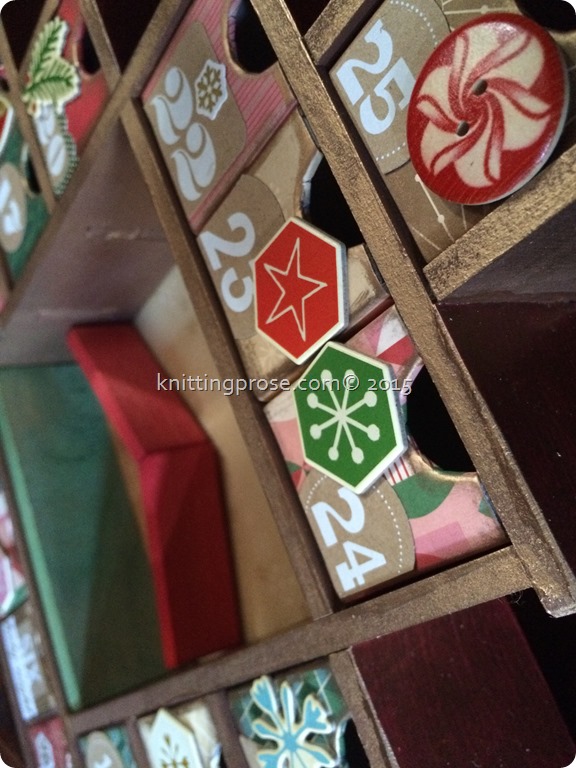
Lastly, finish decorating the boxes… and ta-da!
This was a very enjoyable project. I hope the kids have as much fun with it during Advent as I had creating it.
What are your Favorite Holiday traditions?
Leave a comment below!!!
