Today I’m sharing a project I completed for my craft area. It’s a trinket box. My crafting area is actually in my dining room. Although we have a sizeable home, we also have 5 kids and we homeschool. So it seems like no matter how much space we have, it’s never enough. We school, craft, play, dance, and pretty much every thing else in the main rooms of our home – the living room and dining room. To accommodate all this activity, we really needed a second table area in our dining room. It seemed like we were always trying to clear a giant mess at dinner time just to eat. So we made a large craft table and sort of divided the dining room into an eating area and a school/crafting area.
So anyway, why did I need to tell you all that??? Oh, yeah. Okay, so I try really hard to integrate as much of my crafting things into normal home décor as I can. I have my some of my stamps and all my ribbons and washi in old drug store style candy jars. The kids’ school books are in décor bins in the cubes. I use tins and jars to store tiny brads and buttons. Things like that. It’s a work in progress and this project is one more step in that direction.
 Just like the rest of the crafting world, I love my Tim Holtz goodies. But it’s not just Timmie, lots of crafting designers are feeding into my frenzy with their adorable charms, wood veneers, buttons, cabochons, tags, brads, bling, and more. Clearly, I need a serious storage solution for this mess. Not wanting to default to a caboodle or tackle box type thing, I knew Kathy’s vintage jewelry box would be a perfect fit for this project. Fortunately, I hadn’t made my kit yet. And still more fortunate, I hadn’t used the paper that came with the Take A Spin project I got from her either! *funny how life works out like that, ain’t it?*
 Because I had such a clear vision of what I wanted with the Take a Spin, I didn’t really even look at the collection of papers and embellishments. So I pulled them out for this project but thought they looked too dark for my dining room décor. Hmmm… something told me not to write them off yet. I went ahead and started construction on the box using the creamy tan paper that came with the jewelry box kit.
The closer I got to finishing the construction, the more I started thinking about these papers. Finally, I pulled them out to take a good look. Hmmm… It could work.
 I used Rub N Buff on all the edges. Holy cow, that stuff is potent and decently messy. It did the job, though. I was very happy with how well it covered. Using the lightest paper in the Lost and Found Collection, I covered the front and top. I chose an almost black wood grain for the sides.
Next up, the drawers and inside lining. 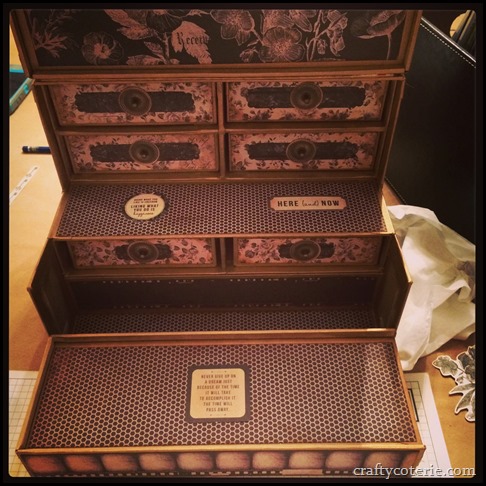
Okay, so I didn’t think this paper was going to work out but… O. M. G. I LOVE this paper!
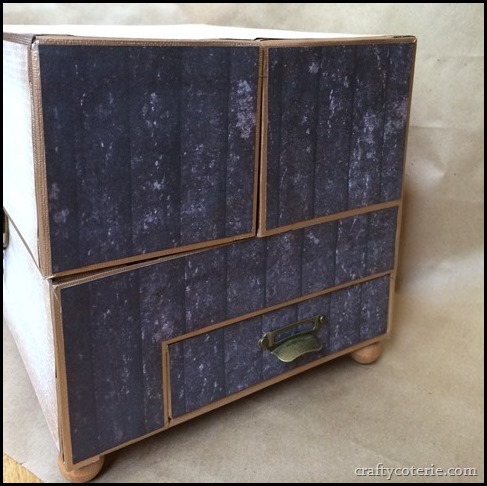
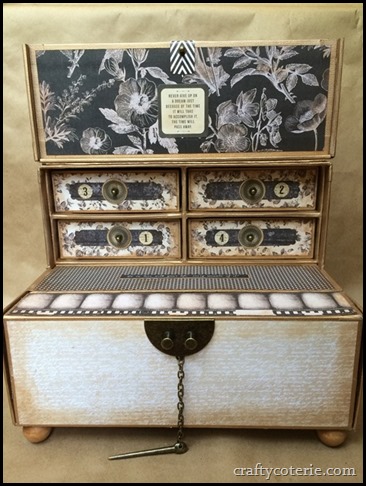
Here’s the finished product…
I decided to keep the outside fairly plain. I wanted this piece to sort of melt into the wall (that’s a similar color) and not really stand out too much. There’s a lot going on in that room that draws enough attention as it is. I like the way this paper is quietly beautiful.
The sides reflect the color of the dark cabinet this piece sits on helping it to disappear and minimize the look of clutter.
This drawer on the side holds some of my larger supplies like items that require battery packs and binder clips.
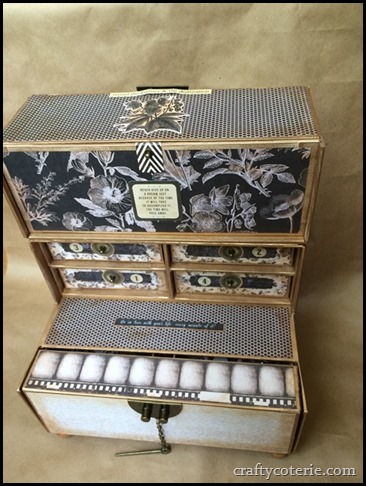
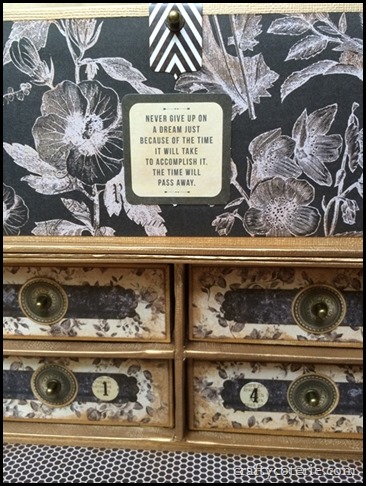
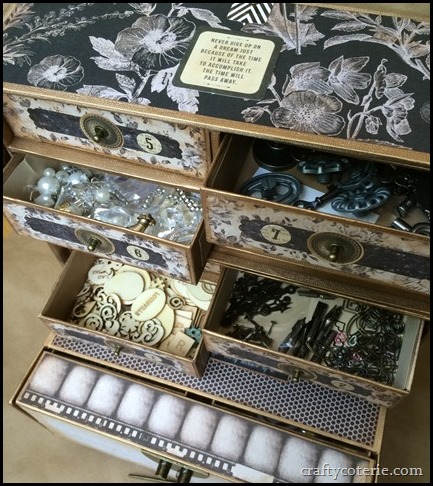
The top half of the front unfolds upward to reveal a set of drawers.
The top section has a slide out lid that keeps it’s contents from spilling out when it’s closed.
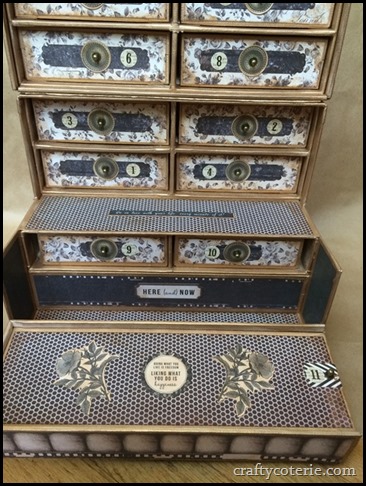
Silly me. I put drawers 2 & 3 in the wrong place. hehe
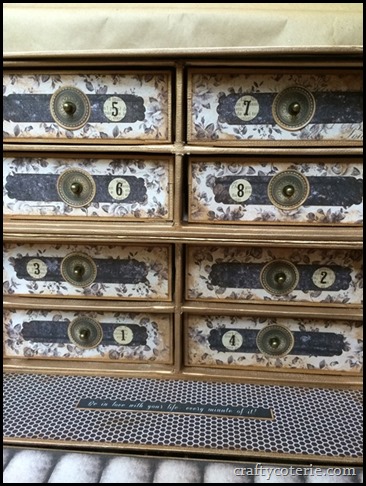
Behind the slide-out panel is another set of drawers. I numbered them thinking that I might create a key with a content list to keep with the chest so that I can keep track of what’s where without having to open every drawer.
A peek inside the drawers… I lined them all with a kraft colored cardstock. I made a video showing how I did that. At first, I wasn’t sure I wanted to line the drawers – afraid that small bits would get caught up under folds or creases. I finally figured out a way to avoid that and it’s explained in the video.
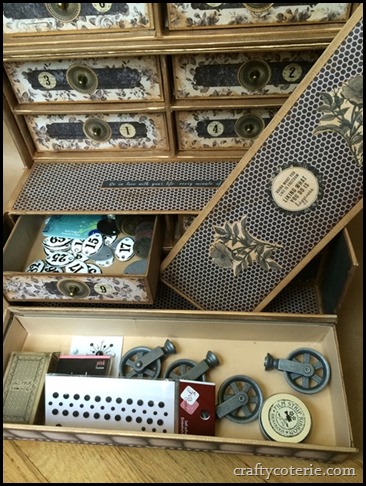
The bottom front folds down to reveal two more drawers and another slide-out paneled box.
Another good spot for bigger items.
And there you have it. A place for all my charms and what nots. This project wasn’t terribly difficult but did involve a lot of repetitive cuts and construction. The rub n buff wasn’t exactly fun either but all that was worth it in the end. I’m pleased with how it turned out. It’s not what I expected going into it, but even better than I’d hoped. If you’d like to make this project, you can get the tutorial for the construction on Kathy Orta’s website.
**Hey if you’re on Facebook you can join our little party there at The Crafty Coterie and Paper Phenomenon.**
Thanks for visiting! =)


